First up, you have to attach the ISO / DVD Drive to the virtual PC. In my case, I was able to attach it by clicking CD >> Capture ISO Image...
You'll get prompted for the .iso file you want to use. Find the file, and click Open.
I have to reset my VPC when I do this. To do that, click Action >> Reset.
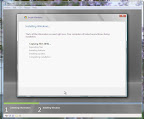
Next comes the setup screens.
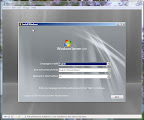

They are rather self-explanatory - for 2008 Server Standard, I accepted the defaults.
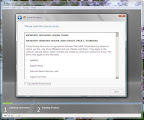
However, because this appears to the OS Wizard as a green fields system, it's going to only allow me to do a "Custom" install.
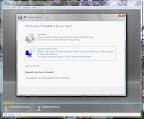
Finally, this is what I wanted to see! One thing worth noting - I put the ISO I built from on a USB drive, and loaded it to my hard drive. It kept my thrash down enough on my hard drive that I was able to surf the web, write some in Word, do email, etc. I don't think I would try playing World of Warcraft, though, while it loads. :)
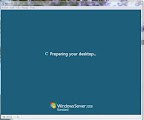
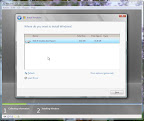
Almost there....
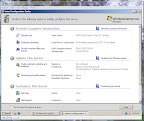
Ah-ha! I have a server!
If you're playing along at home, don't forget to configure and install the available updates from MicroSoft, post-install!