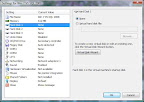
This is the Settings screen you should be seeing from when we left off last time. Click the button marked "Virtual Disk Wizard".
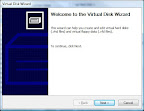
You should now see the Welcome page. Click Next.
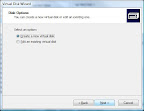
For our application here, you want to create a new virtual disk, so leave that option checked, and click Next.
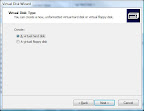
You will now be asked what kind of drive you want to create. Accept the default, "A virtual hard disk", and click Next.
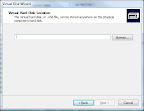
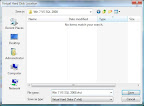
Now, you have to give a location for the Virtual Hard Disk file itself. As a general rule, I put my VHD files into
My Home Folder >> My Virtual PCs >> VPC Name
I also name them the same as the VPC, so I can't misplace them. This also helps if I want to give them to someone else - I don't have to explain as much what the machine is for if the file name tells them. :)
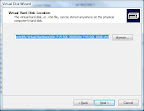
Once you've given a name to your file, click Save. To save the name, click Next on the VHD Location window.
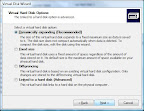
For our purposes, we want to go with the Dynamically Expanding disk size, since this is going to be a database-driven application development VPC.
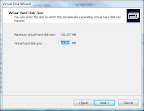
Next is the VHD size. For this, my copy of VPC defaults to 16GB. It will take less space than that, depending on what the OS install puts out there, but 16GB (should be) more than enough room, even with SQL Server, sample data, and Visual Studio. Click Next to continue.
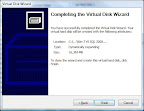
Click Finish to close the wizard. When the file has been created on your disk, you should get a success message popup.
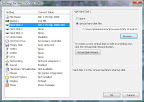
You should now see something that looks like this. You may have to click the radio button and browse to the file location, but that's easy.